JEs, payments & deposits
Last updated: September 29, 2025
Overview
Ledge enables you to automatically create and post journal entries (JEs), customer/vendor payments, and deposits directly to your ERP. Posting is powered by your regularly ingested data combined with tailored accounting rules, ensuring every transaction reflects the exact accounting logic your business requires.
Journal Entries
Go to the side bar -> Flows & rules -> Accounting.
Click 'New Accounting Rule' and choose either Journal Entry or Aggregated Journal Entry.
Enter a rule name, select the relevant source, and define filters to capture the transactions you want included.
In the JE configuration, define the GL impact (pulled directly from your ERP’s chart of accounts), set the debit/credit logic, and configure memos if needed.
Save your rule.
Note: Complex scenarios such as over/under payments and AI matching are also supported. Contact your Customer Success Manager for guidance on setting these up.
payment application
Go to the side bar -> Flows & rules -> Accounting.
Click New Accounting Rule and select payment application.
Enter a rule name.
Select the desired action:
Apply payment to invoice.
Apply payment to vendor.
Apply bank deposit.
Choose the relevant source and set filters.
Configure the GL impact you’d like to see in your ERP.
Please note:
JEs and payment applications will only apply on transactions going forward and will not impact historical data.
Review & approve postings
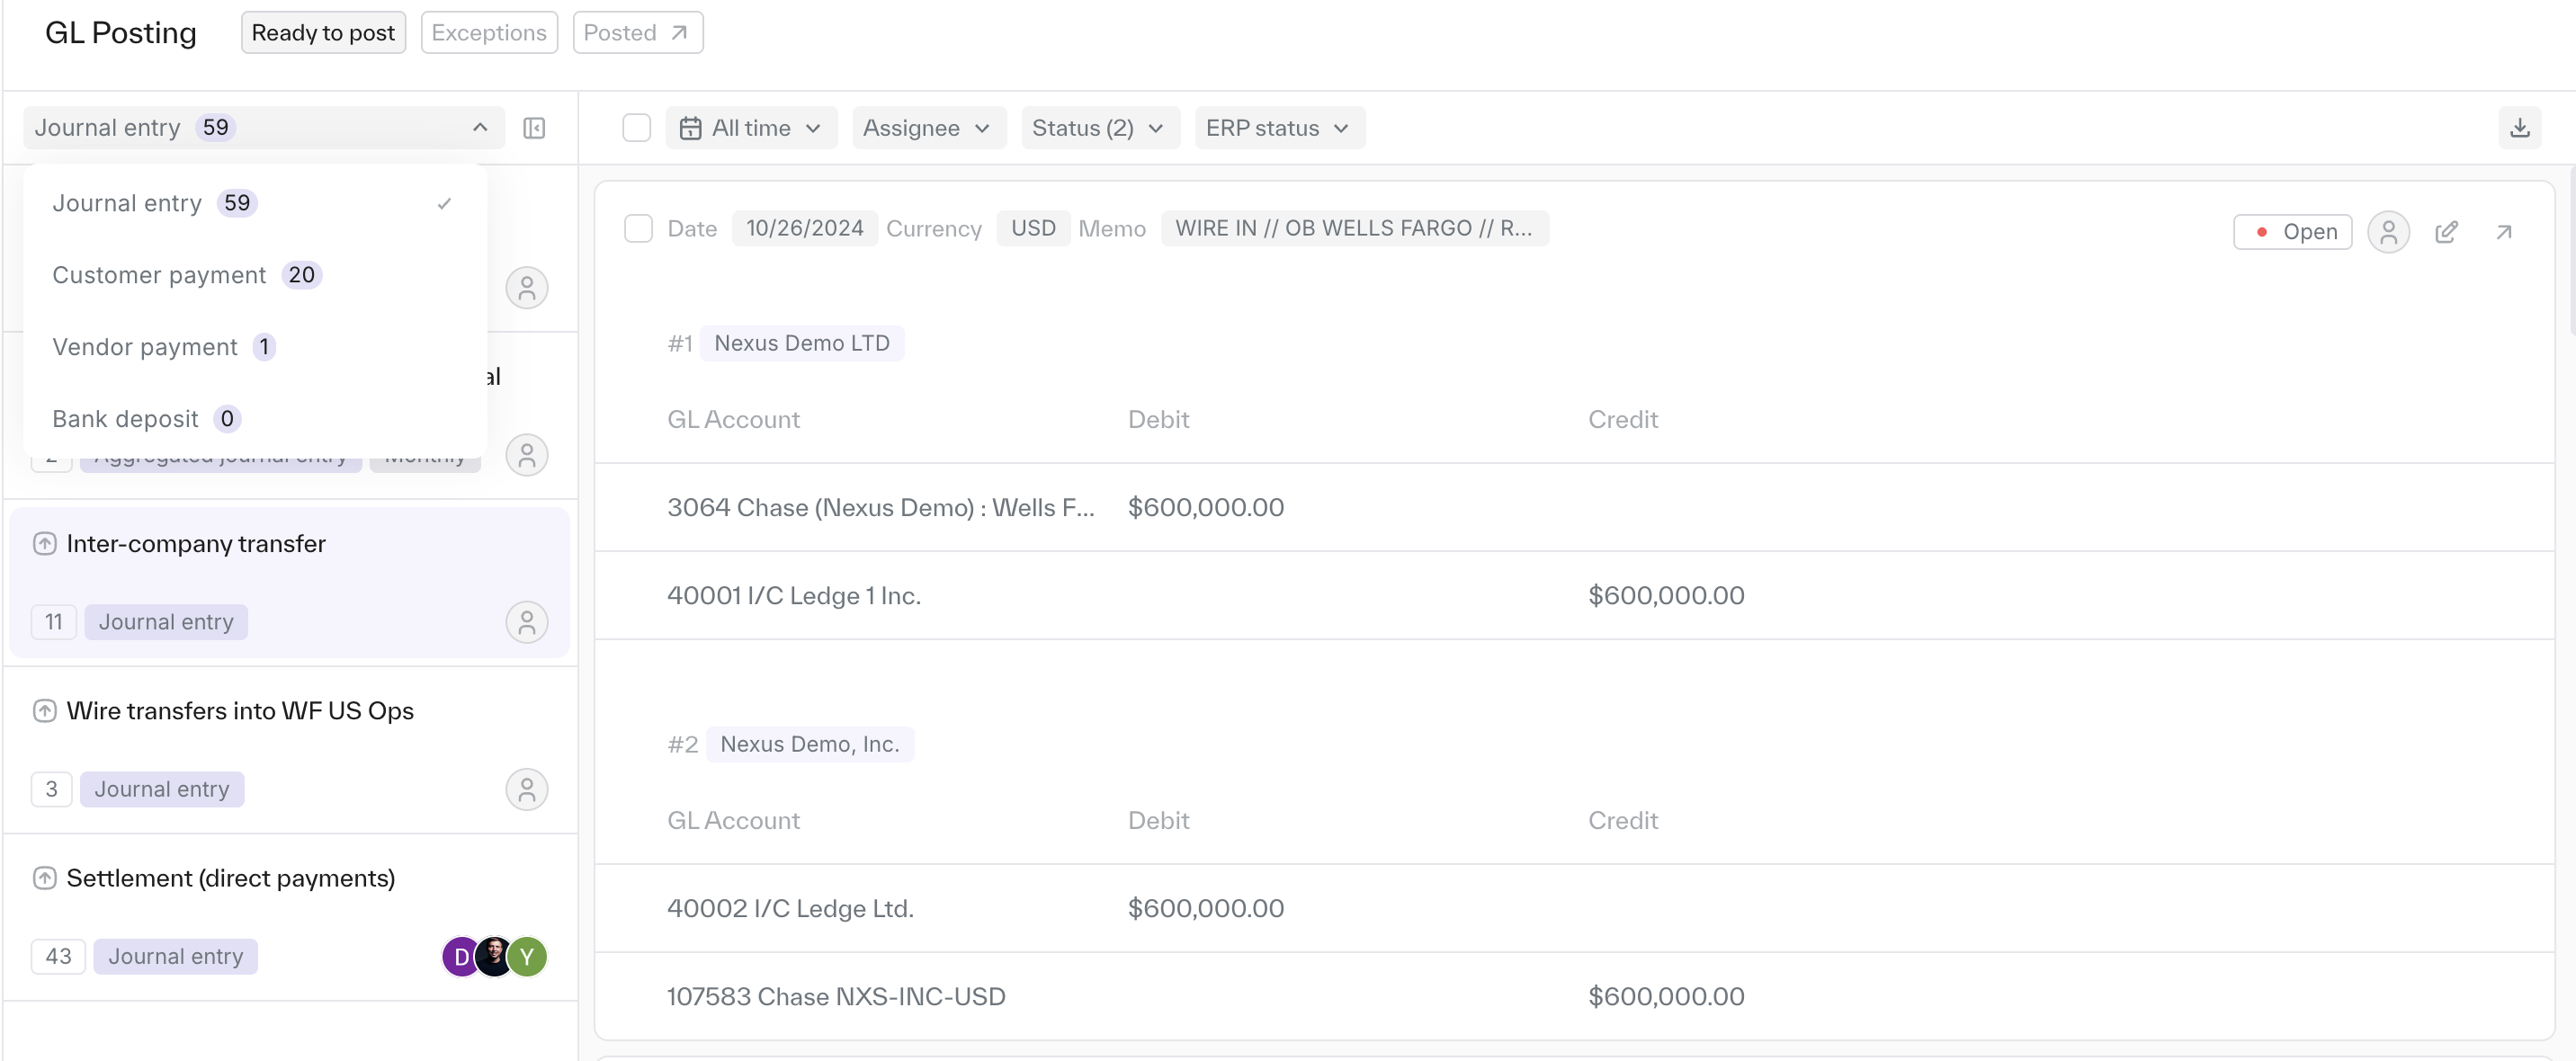
Go to the side bar -> GL posting -> Ready to post.
Use the drop-down menu at the top to select the posting type (Journal Entries or Payment Applications).
Review the pending postings, which are grouped by the rules that created them.
Approve to post them into your ERP.
Once posted, review historical postings under the Posted tab at the top of the page.
Audit trail
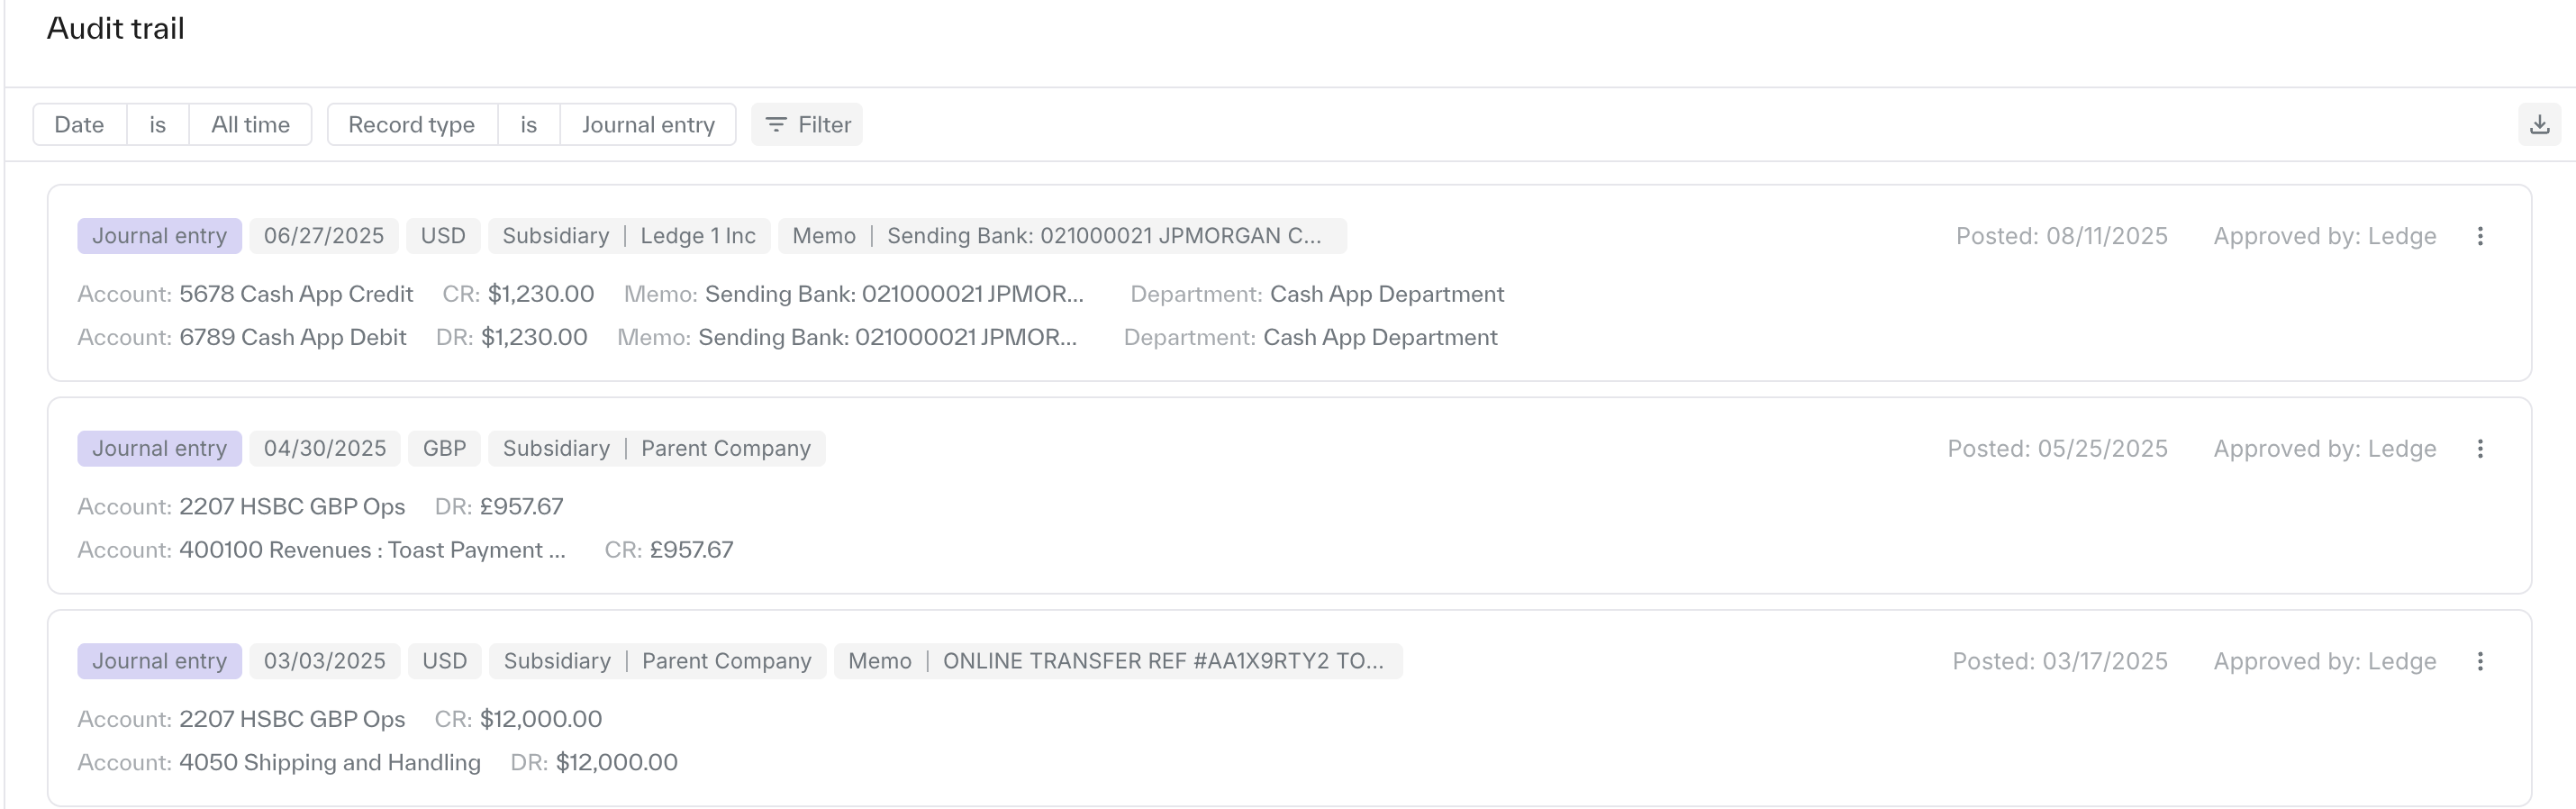
Ledge provides a complete audit trail for compliance and transparency.
Go to Sidebar → Audit Trail.
Select the relevant date range and record type.
Review the full history of actions and postings.